TU-it Yourself: Tulane Second Line Umbrella

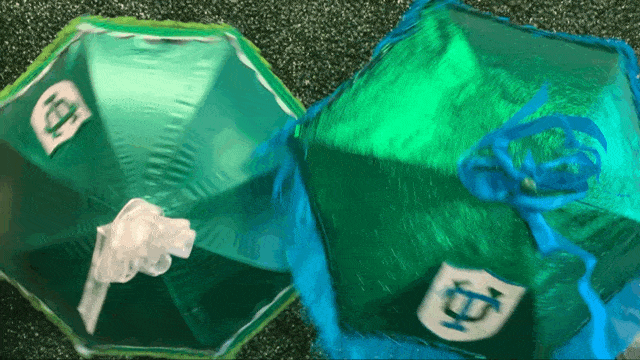
The Second Line at the end of Tulane’s commencement exercises have become an iconic part of the spring ceremony, and at this year’s convocation President Michael Fitts charged incoming freshman to “take this tradition and make it your own with the passion and creativity that brought you to Tulane University.”
As part of the new format of convocation, each student received an umbrella of their own to decorate. Here are some tips and tricks to make a Tulane-themed second line umbrella that truly sparkles!
First things first—safety!
• Take appropriate precautions depending on what materials you use.
• Put down tarps or mats to protect surfaces from glitter, glue or paint.
One of the most important steps when you’re starting a new craft project is to envision your concept—what do you want it to look like and make a plan for what you want your finished project to be.
Color, motion, sparkle, texture and weight are all important elements to think through as you make a plan. Elements like chain fringe and feathers move, while sequins and glitter provide shimmer that will catch the light as you dance. Glitter-averse folks can rely more on sequins and shimmer paint to bring in shine to make your end product pop.
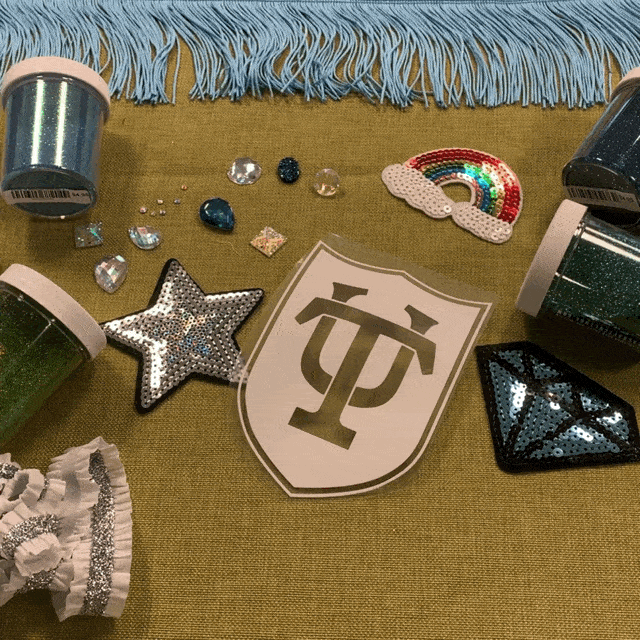
Locally-owned craft stores like Nola Craft Culture, The Bead Shop, or Jefferson Variety have some of the best selections of glitter, trim and other décor and can provide great inspiration for your project. When purchasing trim or décor, think through where in your project it will be used so you can purchase enough. The following is a basic list of supplies you’ll need, depending on how you plan to decorate your umbrella:
- umbrella
- paint
- glue gun and glue sticks
- Mod podge
- brushes
- trim (fringe, rickrack, feathers, etc.)
- glitter
- ribbon
- decorations (patches, pins, stickers, rhinestones, etc.)
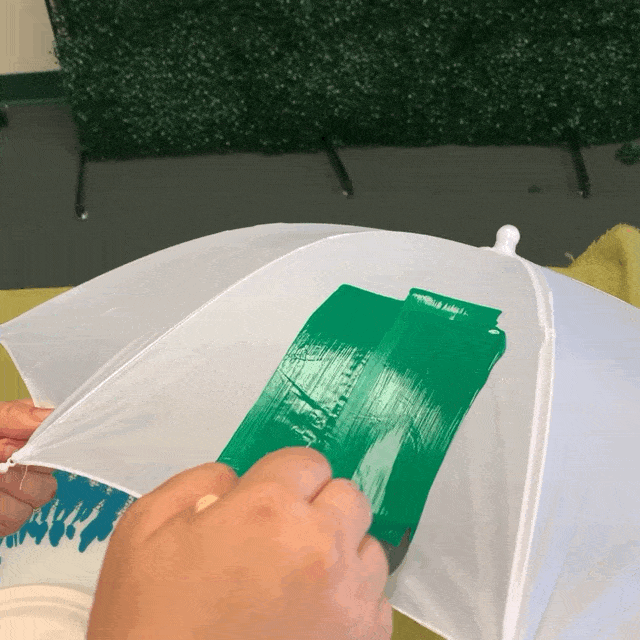
Changing up the base color of your umbrella will help make all of the trim and décor elements come together. Fabric paint, acrylic or spray paint will give you a different look, depending on what you want:
- Fabric paints will give the best flexibility and will be the least likely to crack or flake over time.
- Acrylics are easy to get in any shade and finish, but can be harder to get even coverage depending on the opacity of the paint.
- Spray paint—especially those formulated for fabric or plastic—can be easier to get full, even coverage. If you’re planning to leave your painted sections bare.
- If you’re planning to glitter your whole umbrella, the base coat doesn’t have to be perfect but make it match your glitter for the best overall coverage.
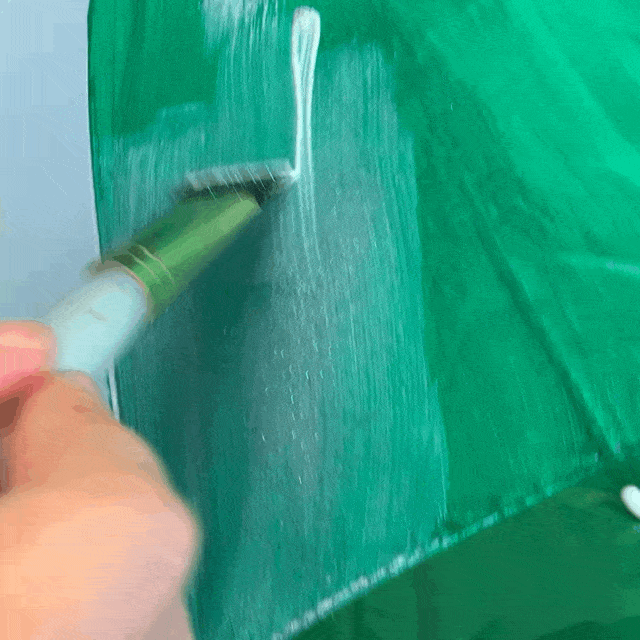
Glitter is a great way to add sparkle and shine to your umbrella. For a project as large as an umbrella, it may be easiest to work panel by panel to ensure good coverage, especially for beginner glitter-ers? glitter magicians in training? glitterati? Whatever you call yourself, start out in small sections to get the hang of how to get full coverage on your panels.
- Tarp your work space to prevent glitter spread—a sheet of parchment paper works well for small work spaces.
- Mod Podge is great for glittering because it retains some flexibility in the final project.
- Use a stiff bristled, large flat craft brush to cover the panel evenly with glue.
- Tap glitter on to glue, ensuring even coverage across the area. Use a piece of paper to collect extra glitter that runs off the project and place excess glitter back into container.
- It can sometimes take more than one coat to get even coverage across a large area—touch up sections as needed after glue dries.
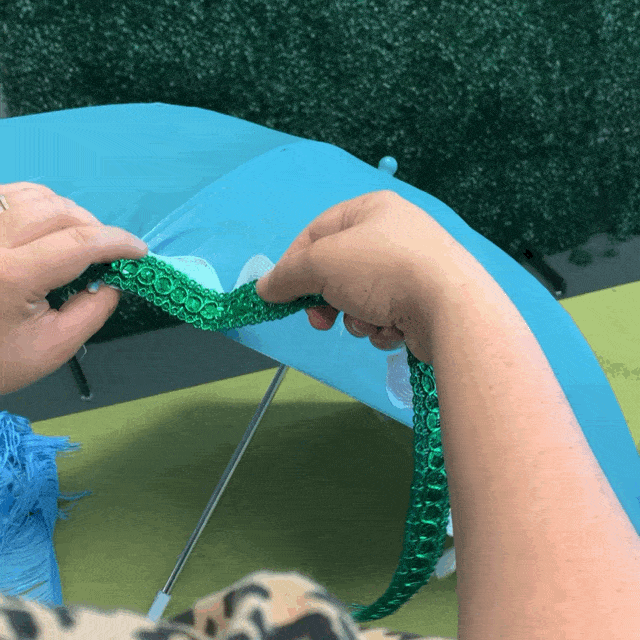
Applying trim and the final decorations helps to bring all of your elements together.
Contrasting trim colors can bring an entire color scheme together, while a tone-on-tone trim can add dimension and texture to the finished project. When applying trim:
- Measure before you glue or cut any trim to make sure you have enough to cover the area.
- Hot glue is the best bet to apply things like trim, rhinestones or patches.
- Glue down your starting anchor point first and then proceed in small sections along the area you’re covering.
- Gravity is your friend. Use it to your advantage to help line up the trim in the direction you are gluing.
And in true New Orleans fashion, don’t let a good Mardi Gras throw or extra costume accessory go to waste. Giving old trims and knick knacks a new life in a different craft project is a time-honored tradition!
